


Thickness planers are pretty straightforward tools. But to get good results, there are a few things to know.
Used correctly, they’ll give you flat and parallel board faces that require minimal clean up.
But use them wrong — and you’ll get chewed up boards, uneven faces, and will really struggle to get boards through.
Today, I’m walking you through my top 9 thickness planer tips for optimal performance.
So if you’ve struggled with tearout or getting boards through, these tips should set those troubles aside.
1. KEEP IT TUNED
Like any power tool, keeping your planer properly tuned and maintained is key.
Luckily, it’s ridiculously simple. Here’s a few important points to be aware of.
-
Keep it clean: Periodically clear out sawdust to keep things running smoothly (planers make a BIG mess).
-
Spray the threaded posts with dry lube: Dry lube doesn’t gum up with sawdust the way oil lubricants can — so use it to keep your cutting depth adjustments smooth.
-
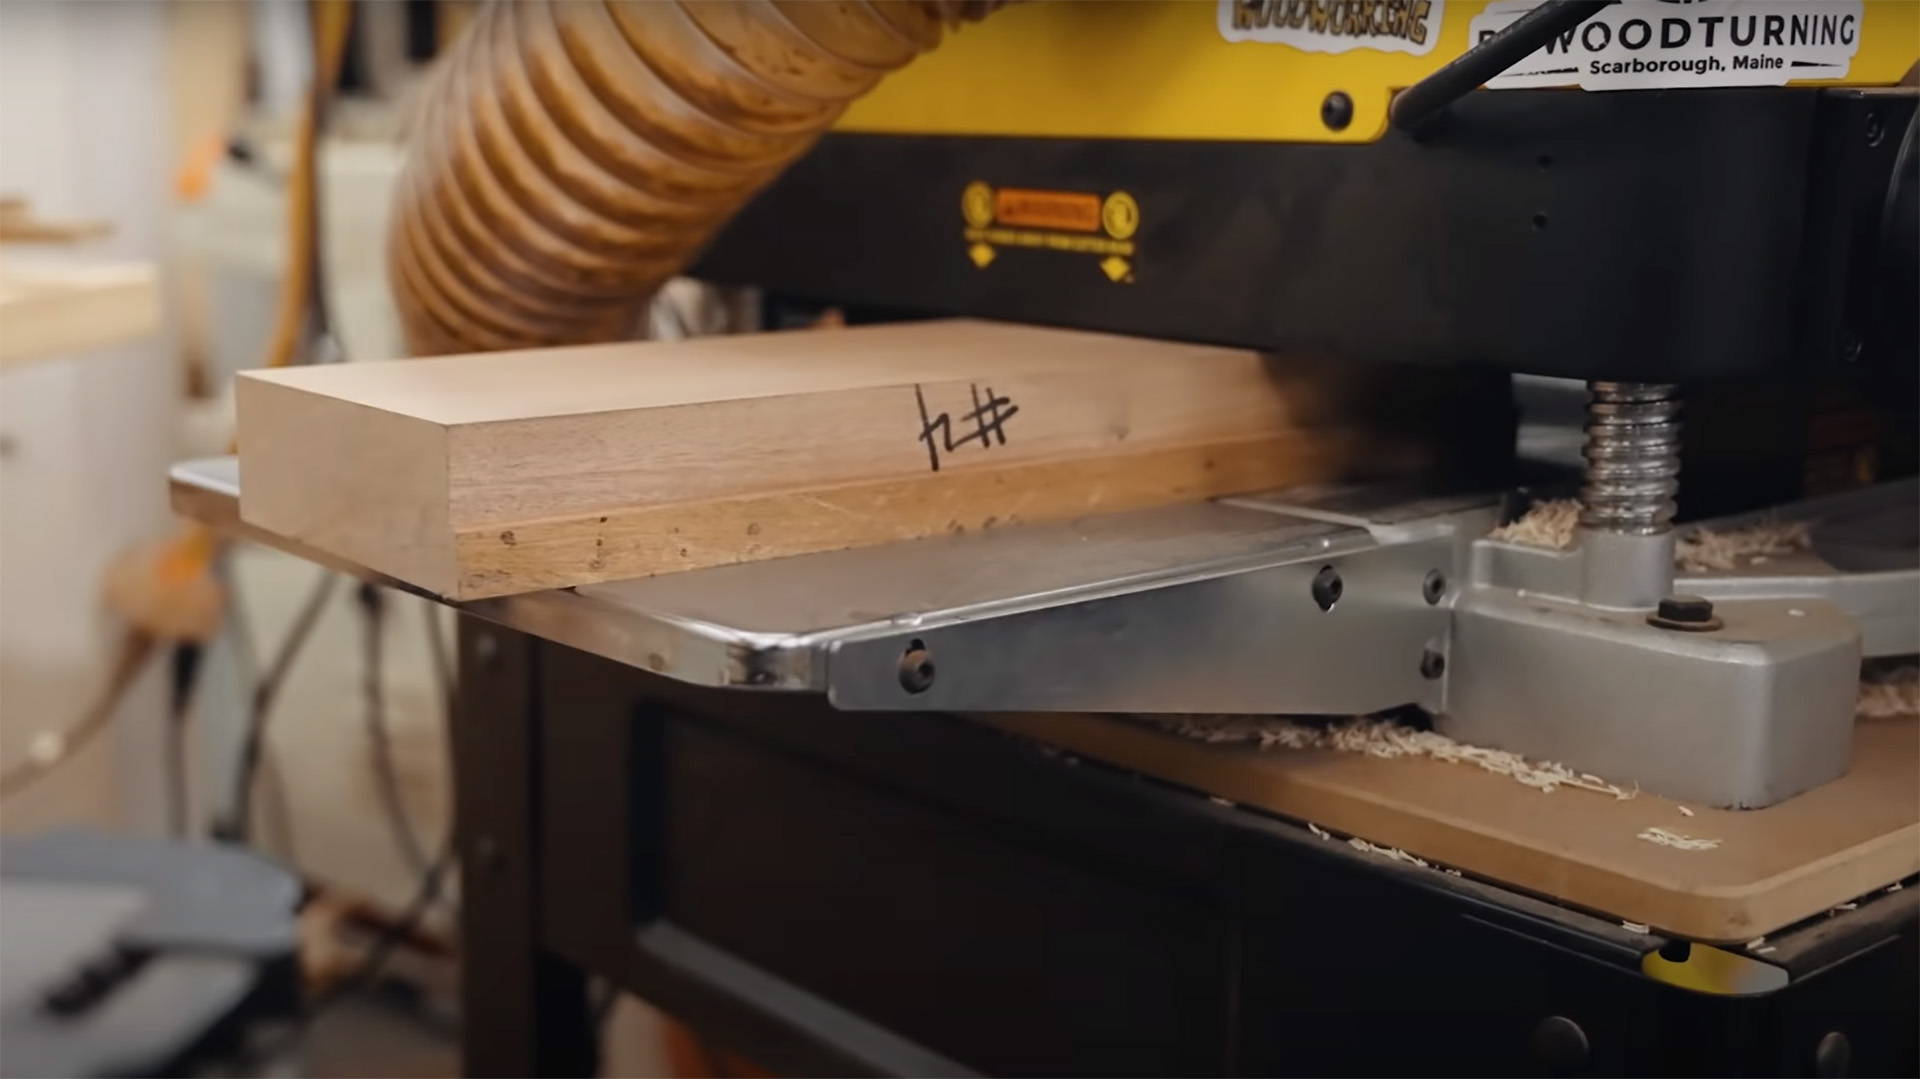
Rotate blades as needed: Periodically rotate the blades to maintain a fresh edge. I put a sharpie mark on the dull side when rotating so I know when to replace them.
- Align the infeed and outfeed tables: To minimize snipe, make the infeed/outfeed tables level and coplanar with the inner bed. This is easy to do with a straight edge and some patience.
2. KEEP THE TABLES CLEAN AND WAXED
Overtime, pitch (a.k.a. tree sap) starts to build up on the tables of your planer.
And it can REALLY make it difficult to feed boards through.
When things start to get gummy, clean off all the tables with Simple Green.
Then slather them all down with paste wax, leave it a few minutes, and buff it out.
Paste wax makes an insane difference in how hard your planer has to work to push boards through.
So apply paste wax often to keep your planer happy — and get the cleanest results.
3. DON’T CUT TOO MUCH AT ONCE
If you’re in a rush to finish milling, you might be tempted to crank the cutting depth down and take a power pass.
Don’t do it.
Planers work best when you take super small passes — as in around 1/32” at a time if you use a lunchbox planer.
Big cutting depths aren’t good for your planer or the board you’re milling.
And they can even cause your tool to short circuit.
Planers are always loud — but if you set the cutting depth too deep, it’ll let out an ungodly harpy scream.
4. GET GRAIN DIRECTION RIGHT
Grain direction makes a massive difference in how clean boards come out of your planer.
Feed boards so the blades cut with the grain, and you’ll minimize your sanding.
Feed boards against the grain… and you can get tearout so bad — even sandpaper can’t fix it.
Keep in mind most planers have the cutterhead above the board. So according to the “pet the cat” rule, feed boards the opposite way their side grain lays.
5. DON’T PLANE END GRAIN
Sanding end grain cutting boards sucks. But don’t get tempted to run them through your planer as a shortcut.
Like I mentioned above, grain direction makes a massive difference. And with end grain cutting boards, the grain direction is ALL wrong.
The cutterhead blades are likely to rip out massive chunks — especially from the trailing edge…
And you’ll really do a number on the sharpness of your blades.
Now, there are maybe people that have gotten away with it.
But as a general rule of thumb, stick to SANDING end grain smooth (or use a low angle hand plane).
6. USE PENCIL TO SEE YOUR PROGRESS
Pencil lines are the ultimate way to see your progress on a planer.
Before running a board through, scribble pencil lines all over the face you’re planing down.
After each pass, you’ll see patches of pencil lines disappear. Those were your high spots.
Once all the pencil lines are gone, you know your board is flat and parallel.
(P.S. Use this same trick with the jointer and sanding).
7. STOP SNIPE BEFORE IT STARTS
Snipe is the scourge of thickness planers.
It happens when your planer cuts boards slightly deeper on the ends — and is the result of the edge tilting up into the cutterhead.
There are a few ways to mitigate it (and more than a few YouTube videos on the topic).
Some people intentionally lift the back of the board slightly as they feed it through to prevent any tilting.
Other’s use a flat board to create an auxiliary table that better supports longer boards.
8. USE A SLED FOR SHORT PIECES
Running really short pieces through a planer can be risky. But hand planes aren’t your only option.
Instead, just super glue or double stick tape small pieces to a flat plywood board.
(You can even add a stop to the front of the sled for extra stability).
Add some pieces on the sides of the sled that are roughly the same thickness as your workpiece. These will stay engaged with the rollers so the sled keeps moving.
That way you don’t have to worry about any tiny parts getting stuck in your planer…
And there’s no need to try and fish them out with a push stick.
9. OPT FOR A HELICAL CUTTERHEAD
If you have the means (and the moolah), use a helical cutterhead over a straight-blade version.
Helical (or spiral) cutterheads cut so much cleaner and more efficiently…
And they are SO much quieter.
Plus, the blades typically have 4 cutting edges so you can get more rotations out of them.
Yes, helical cutterheads are definitely more expensive. But from my experience, it’s an entirely worthy investment.
USING A PLANER IS A NO BRAINER
While planers can seem intimidating at first, they’re actually dead simple to use.
And with the tips above, you’ll have no problem getting the best results from your thickness planer…
Want to learn how to flatten boards with a hand plane? Read this.
What other thickness planer tips do you have? Share them in the comments below!
Follow us on Instagram @katzmosestools, on TikTok @katzmoseswoodworking, and check out my YouTube channel for more great woodworking content...
And as always, STAY SAFE IN THE SHOP!


4 comments
Jay Simmons
Great tips. Adding to your comment that some folks have their infeed and outfeed tables set a bit higher. I have taken this a small step further. After getting both tables perfectly flat with the planer table I have added two threaded inserts under each outside corner of the infeed and outfeed tables. Makes it easy to adjust and hold a slight repeatable incline on each table.
Great tips. Adding to your comment that some folks have their infeed and outfeed tables set a bit higher. I have taken this a small step further. After getting both tables perfectly flat with the planer table I have added two threaded inserts under each outside corner of the infeed and outfeed tables. Makes it easy to adjust and hold a slight repeatable incline on each table.
Gary Andrew
Hi KM Tools
Thanks for the tips. Much appreciated.
On a different topic;
I put in a pre-order for your new Jig Square, and was wondering how’s that coming along?
I’m really excited to put mine to use :-) What a brilliant idea/invention.
Warm regards
Gary R. Andrew.
Hi KM Tools
Thanks for the tips. Much appreciated.
On a different topic;
I put in a pre-order for your new Jig Square, and was wondering how’s that coming along?
I’m really excited to put mine to use :-) What a brilliant idea/invention.
Warm regards
Gary R. Andrew.
Donald Kern
Great advice, all of it. One thing you can also do to absolutely ensure your project doesn’t get affected by snipe. Know how far snipe happens (test piece) in your board and, if grain direction allows, keep the snipe on the same end of the board and add a litttle bit more to the board’s length to compensate. If grain doesn’t allow keeping the snipe on the same end on both sides, add the additional length to each end of the board and cut off after planing.
Great advice, all of it. One thing you can also do to absolutely ensure your project doesn’t get affected by snipe. Know how far snipe happens (test piece) in your board and, if grain direction allows, keep the snipe on the same end of the board and add a litttle bit more to the board’s length to compensate. If grain doesn’t allow keeping the snipe on the same end on both sides, add the additional length to each end of the board and cut off after planing.
Paul Littlefield
I appreciate all your
I appreciate all your